1. 准备安装包
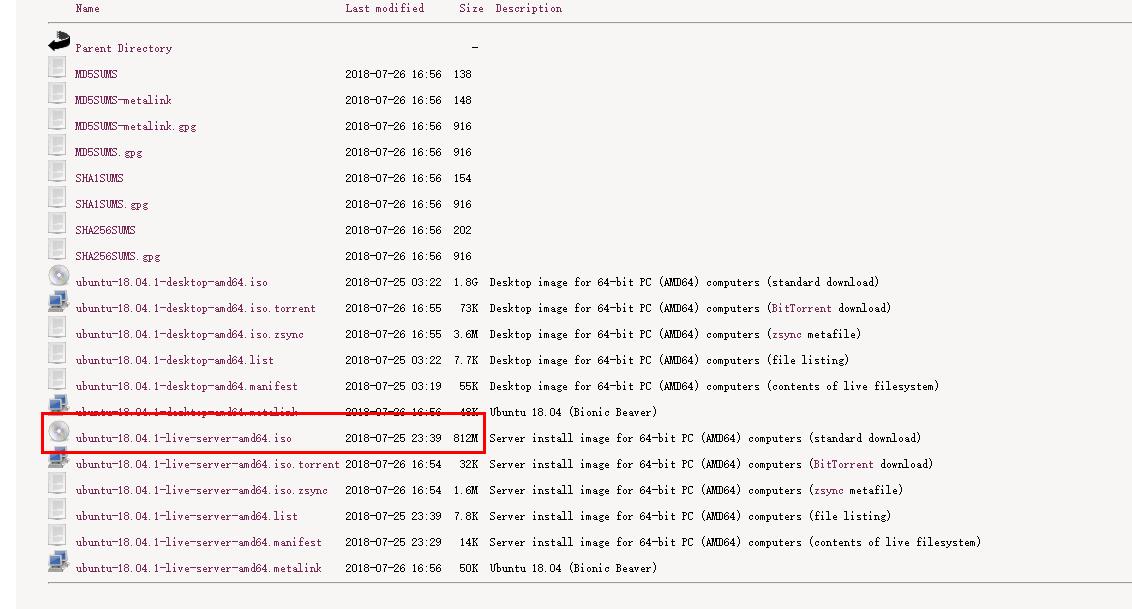
- 下载ubuntu18.04 server版本,ubuntu-18.04.1-live-server-amd64.iso
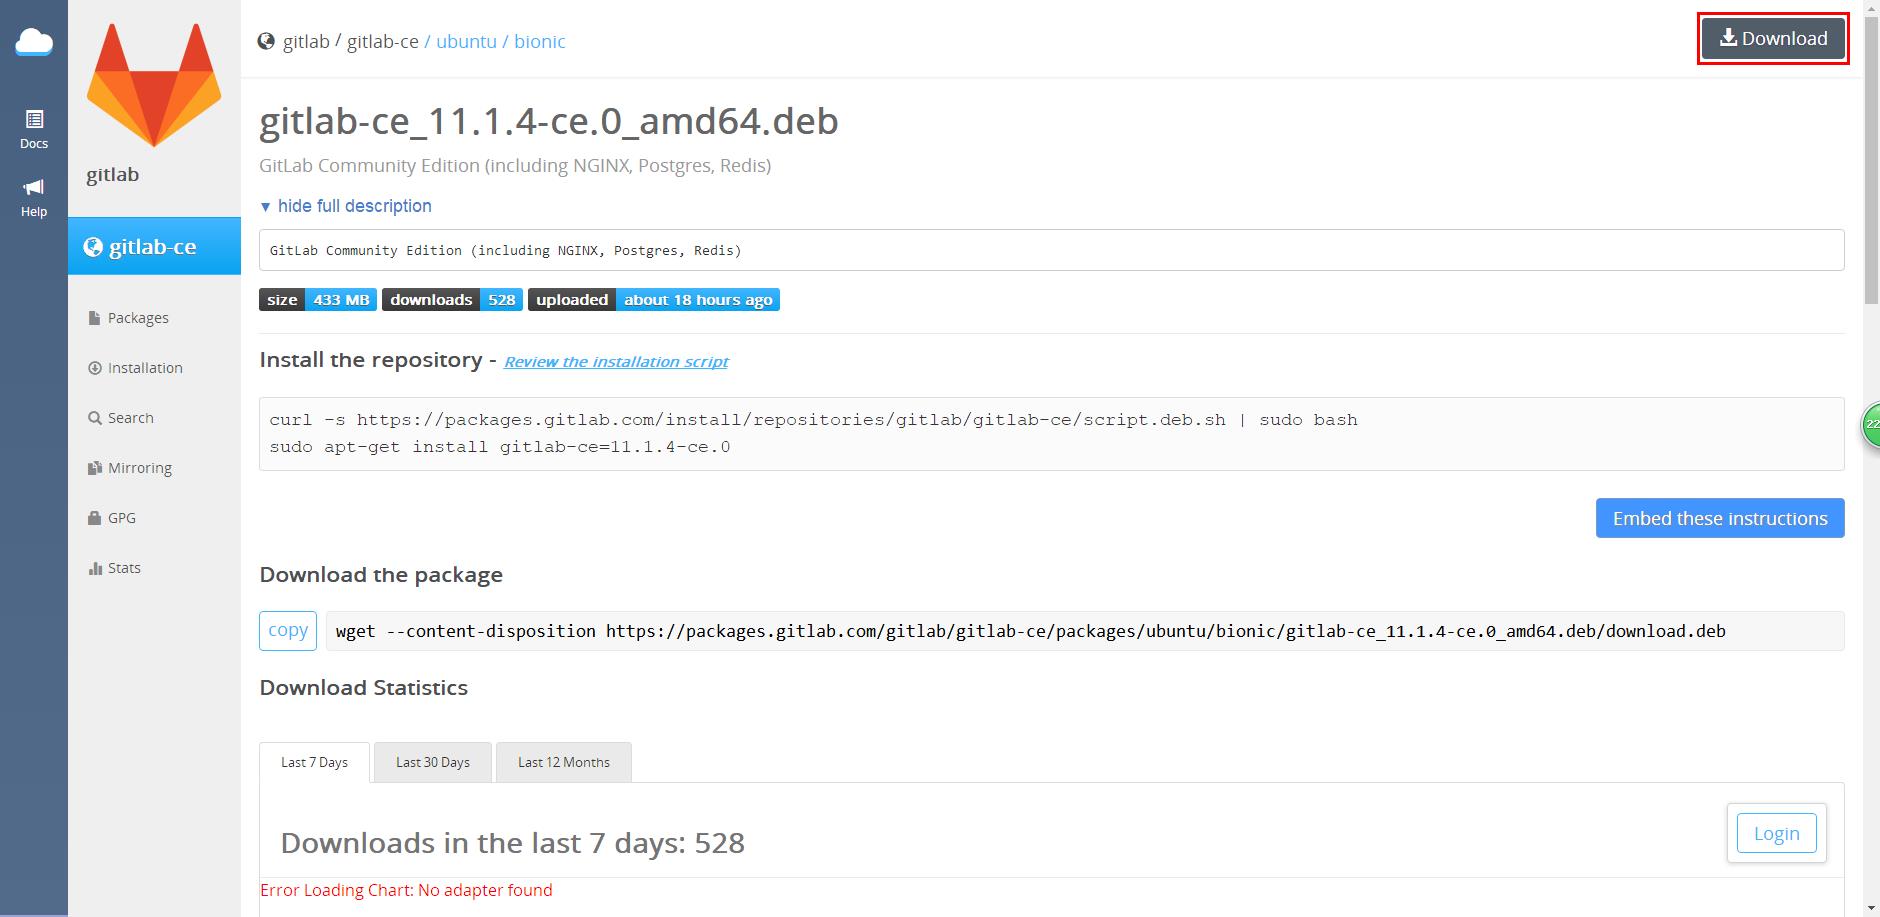
- 下载与ubuntu18.04 server版本对应的gitlab版本,gitlab-ce_11.1.4-ce.0_amd64.deb
bionic版本就是ubuntu18.04版本
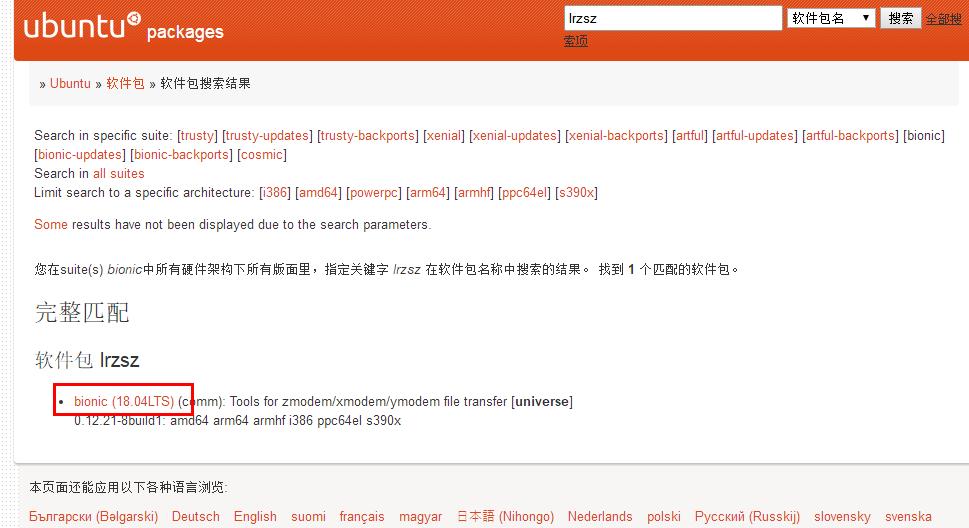
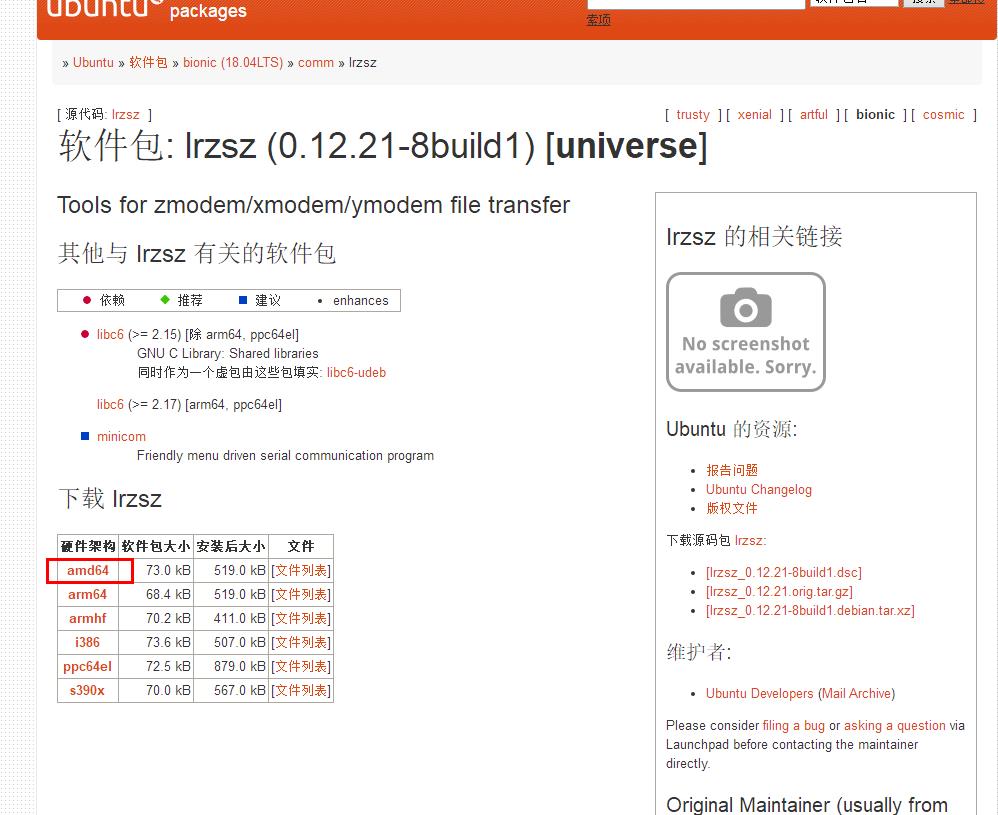
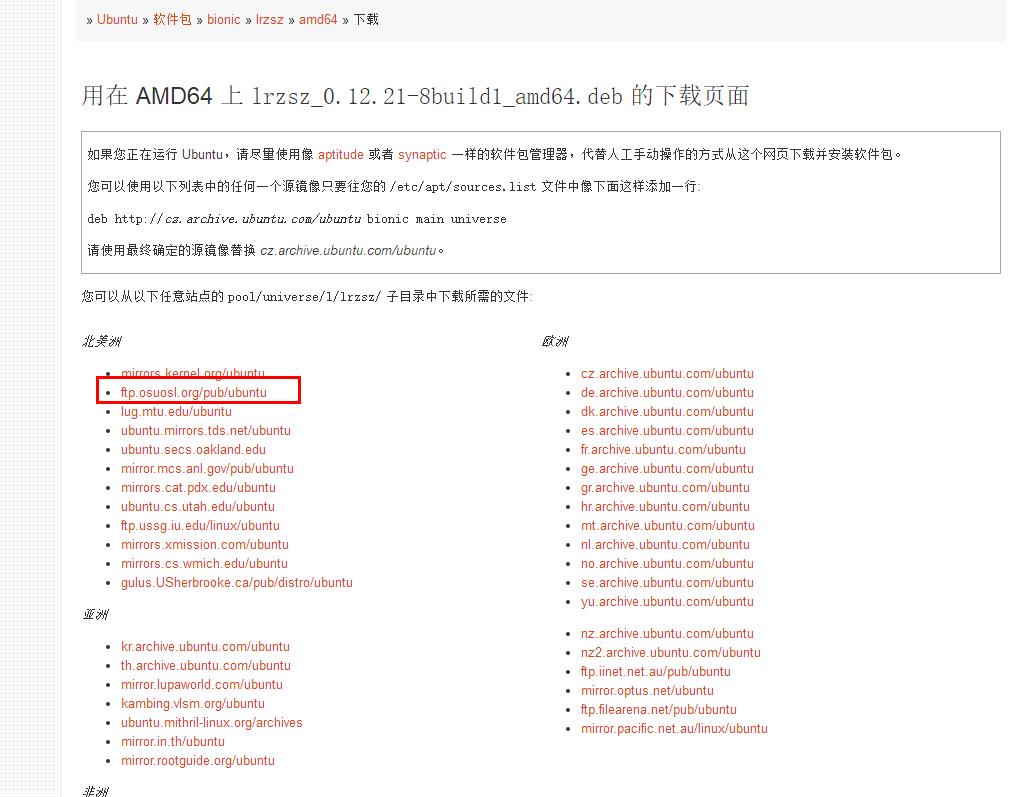
- 在ubuntu官网下载需要的软件包,Ubuntu Packages Search,比如下载lrzsz

 选择网速快的镜像源
2. 安装ubuntu18.04 server操作系统
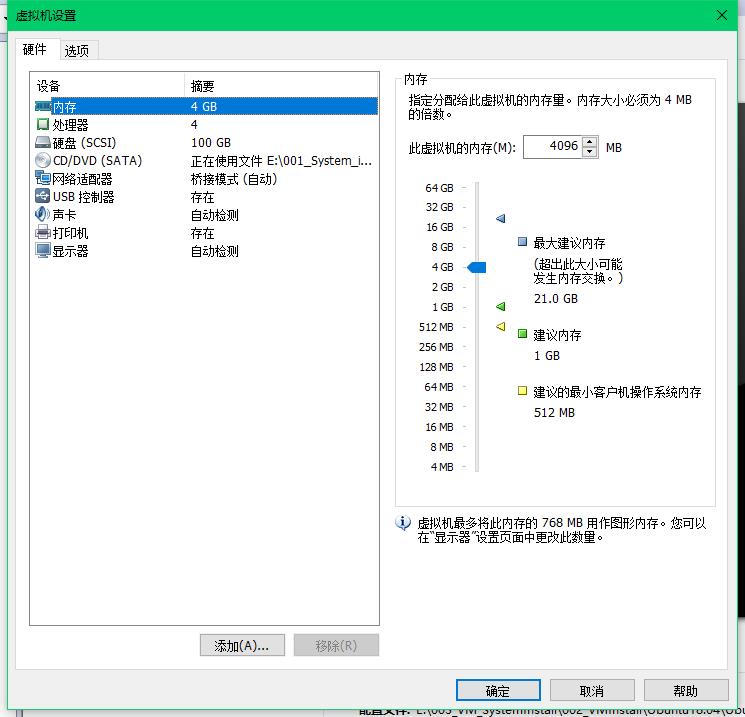
创建VMware虚拟机
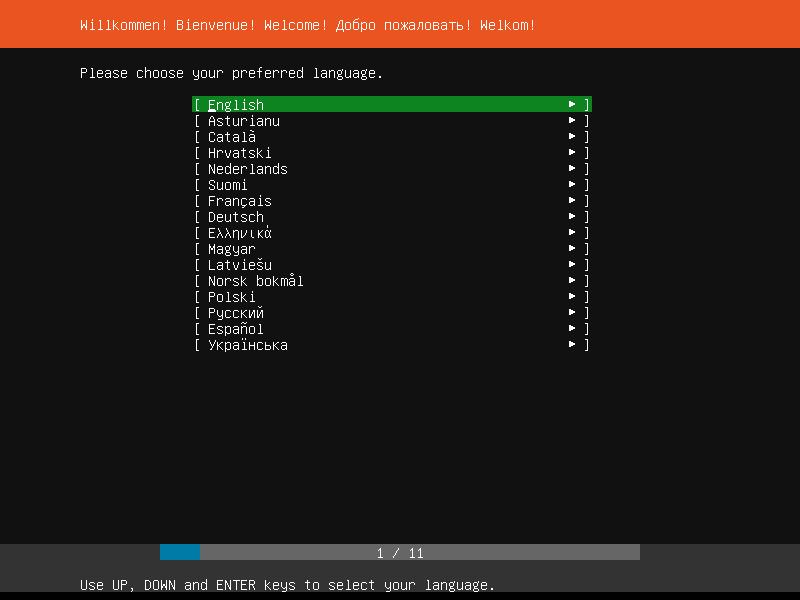
启动虚拟机开始安装操作系统
-
选择系统语言-English
-
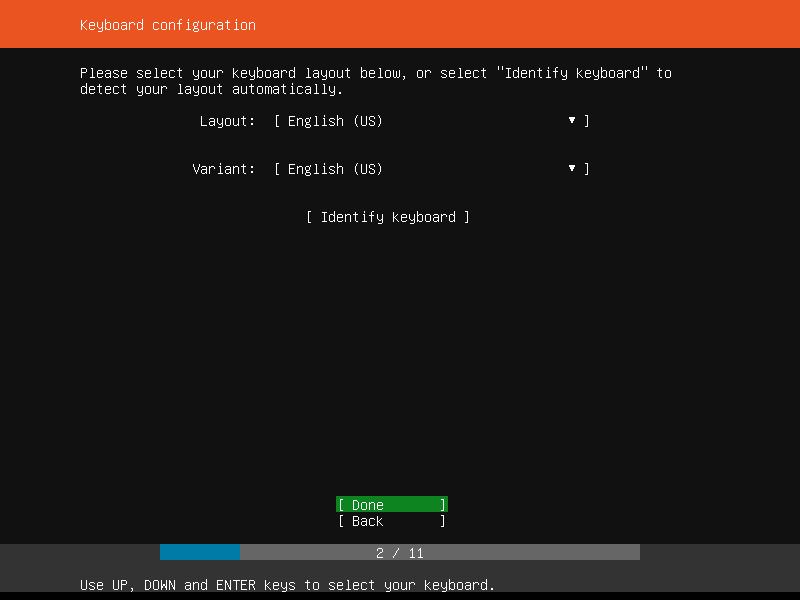
键盘设置-English
-
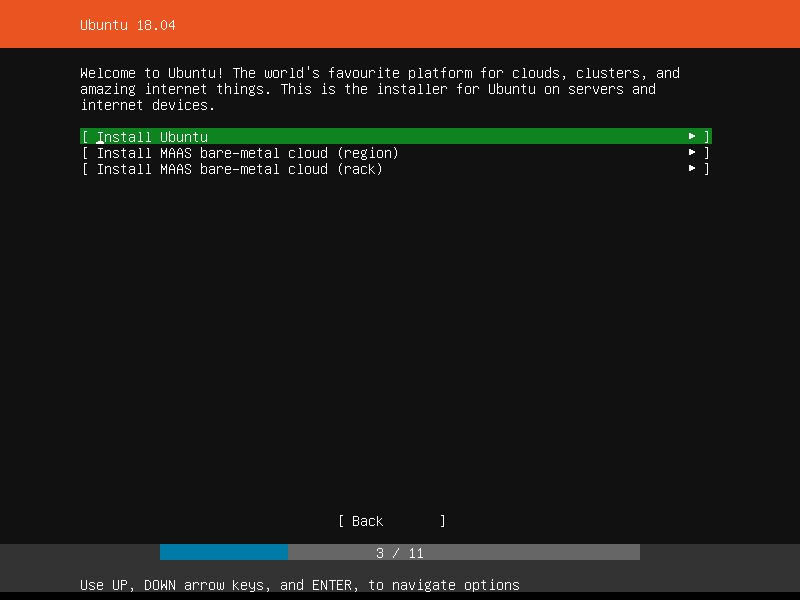
选择操作Install ubuntu
-
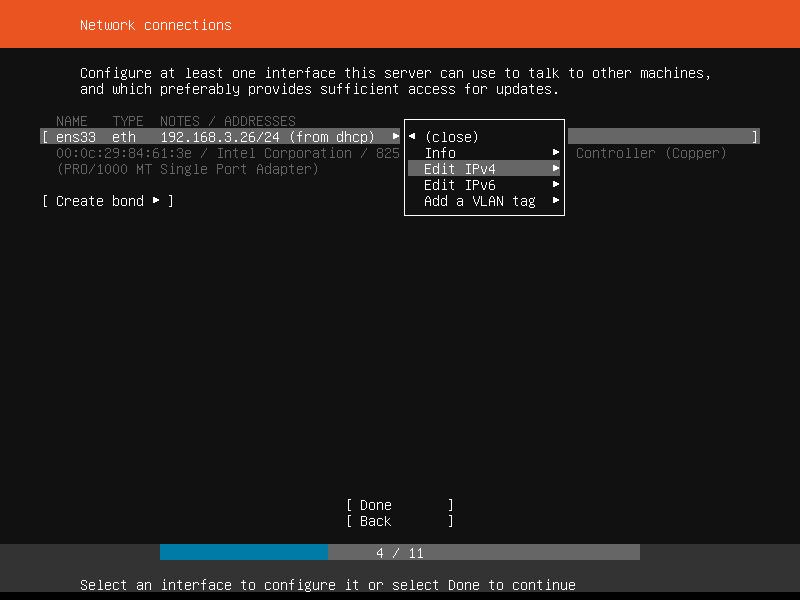
网络配置,配置IPv4
-
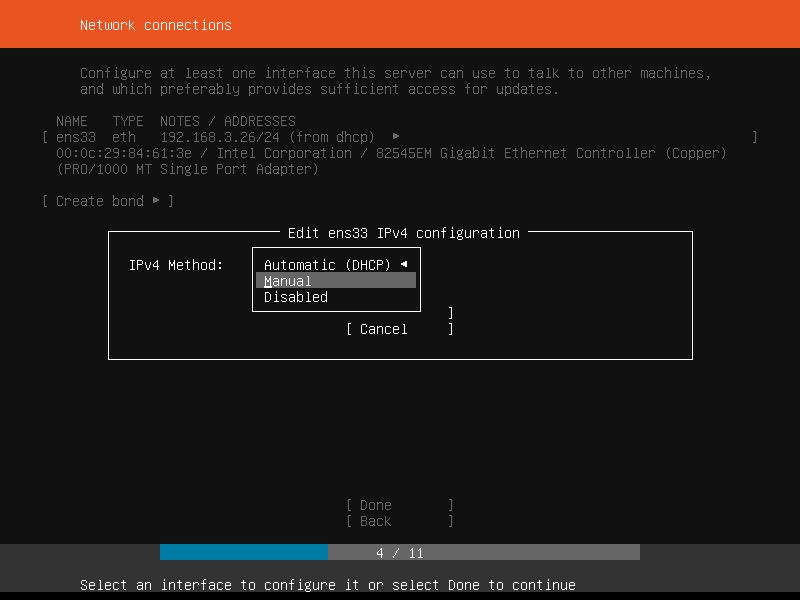
网络配置,选择Manual
-
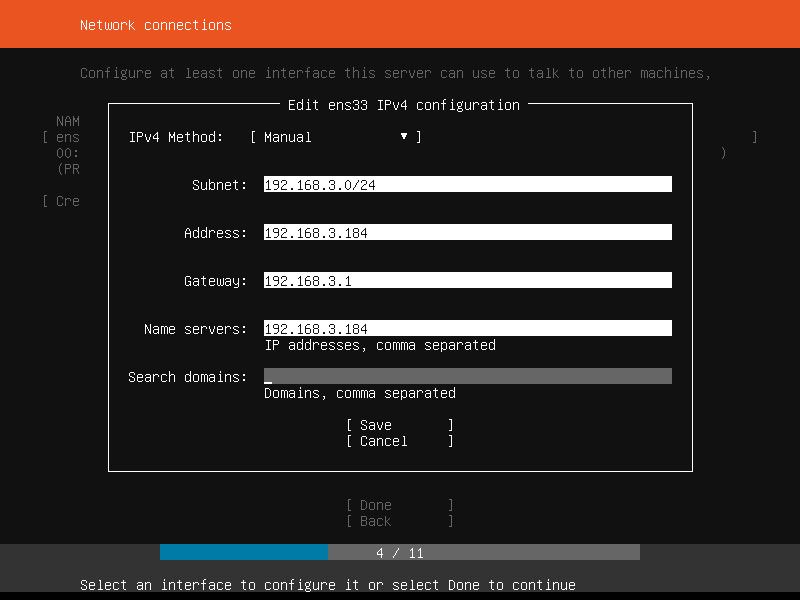
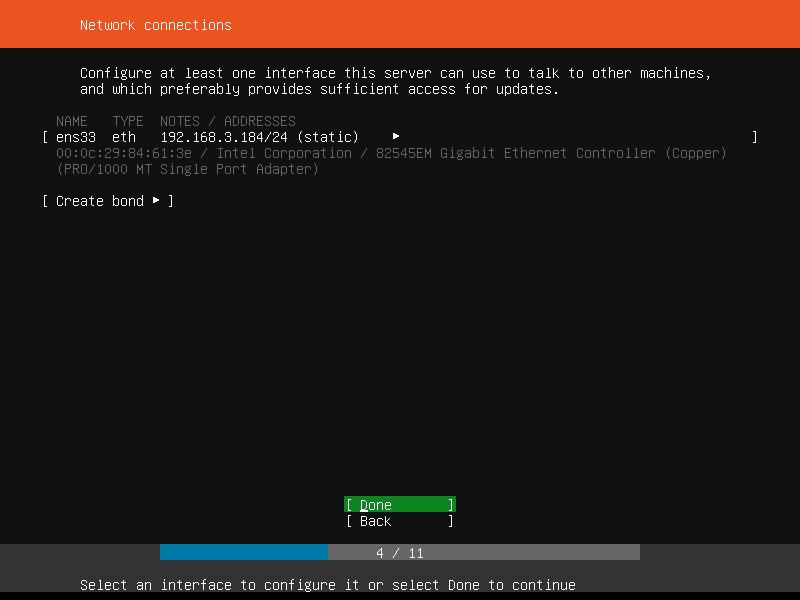
网络配置,网卡详细配置
-
网络配置,确认配置选择Done
-
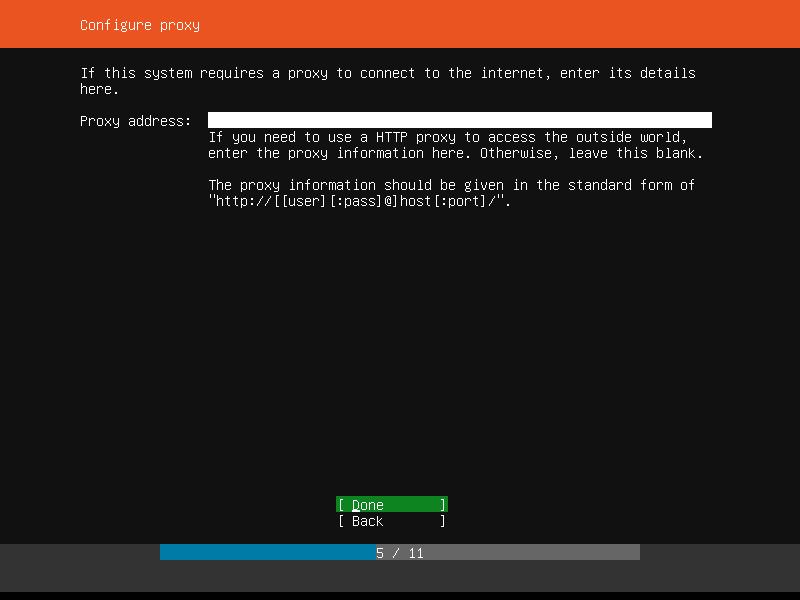
配置代理,默认不配置,直接选择Done
-
配置镜像地址,使用默认

-
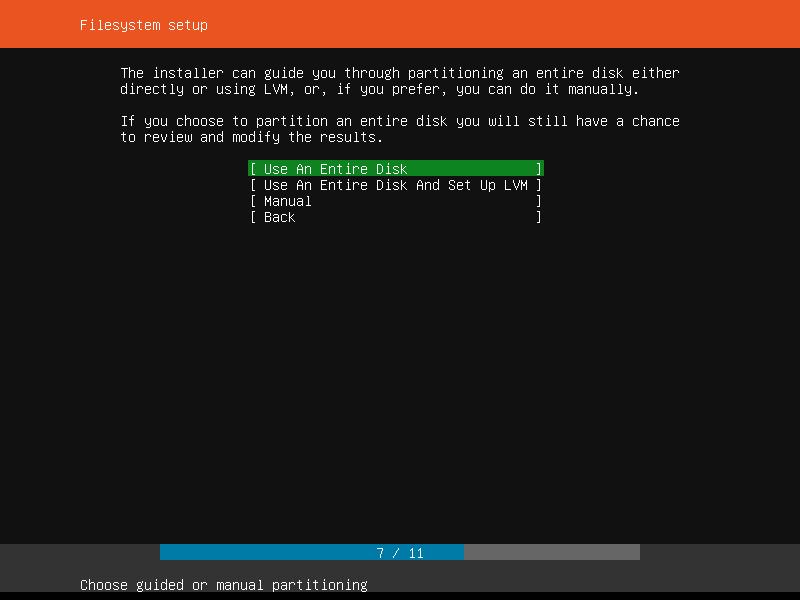
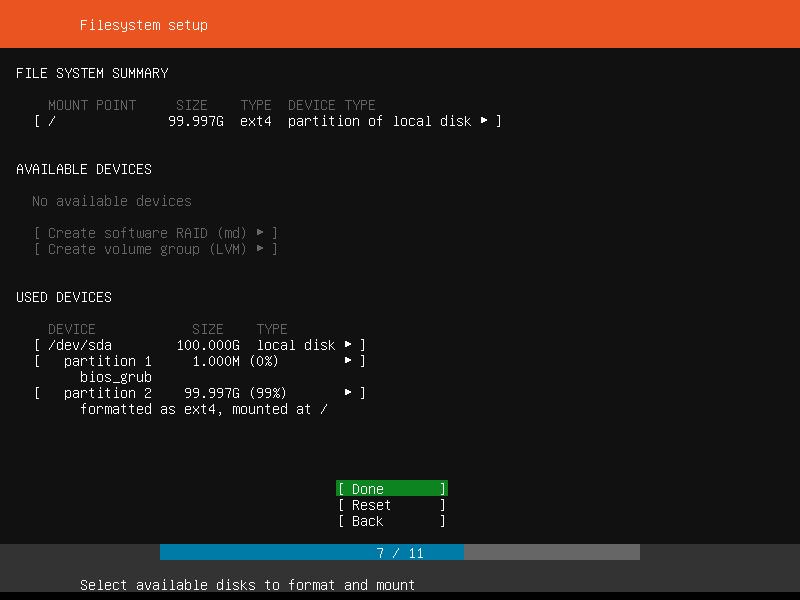
磁盘配置,如果不专门规划各目录大小,直接选择Use An Entire Disk
-
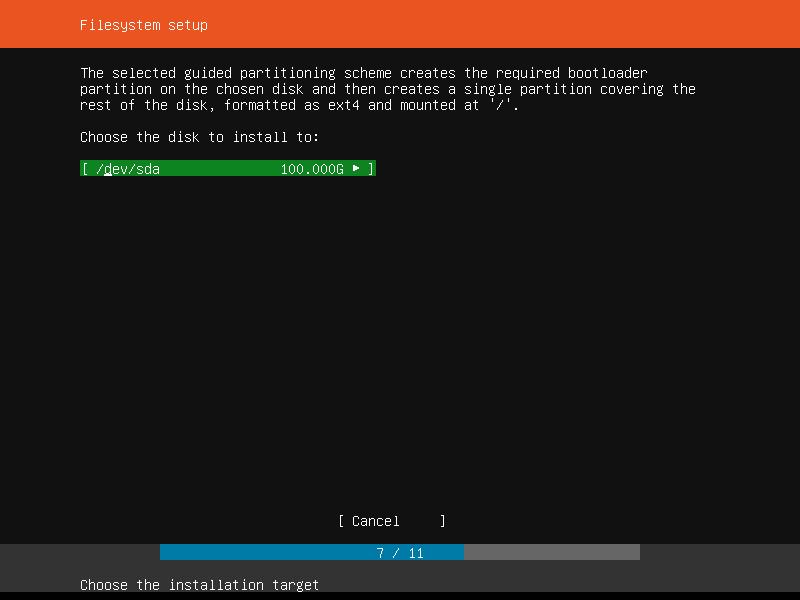
磁盘配置,选择磁盘
-
磁盘配置,分区大小使用默认,可定制
-
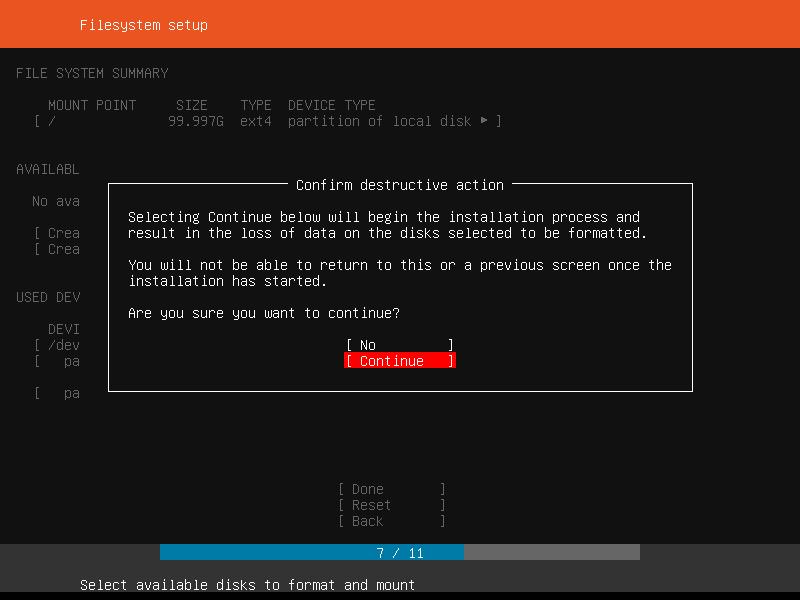
磁盘配置,确认磁盘配置,选择Continue
-
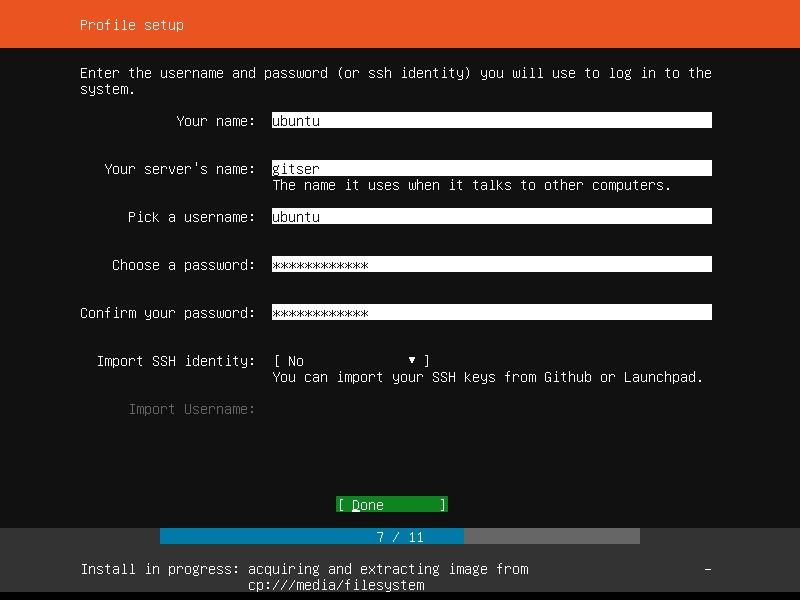
系统用户信息配置,配置完选择Done
-
选择Done
-
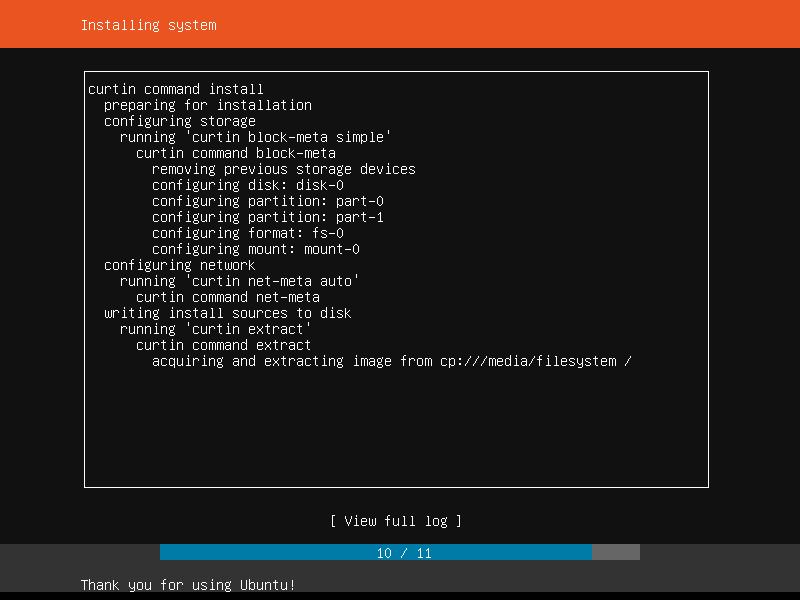
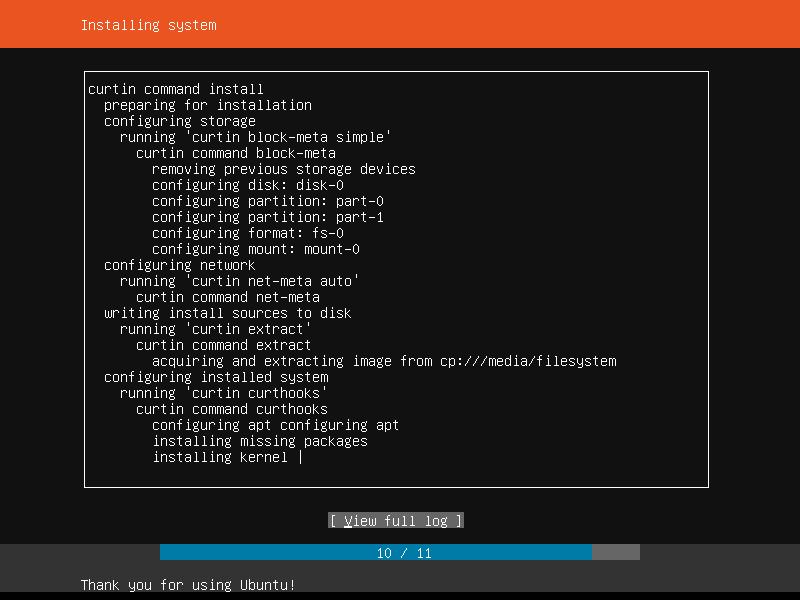
不用操作,等待任务步骤10/11自动完成
-
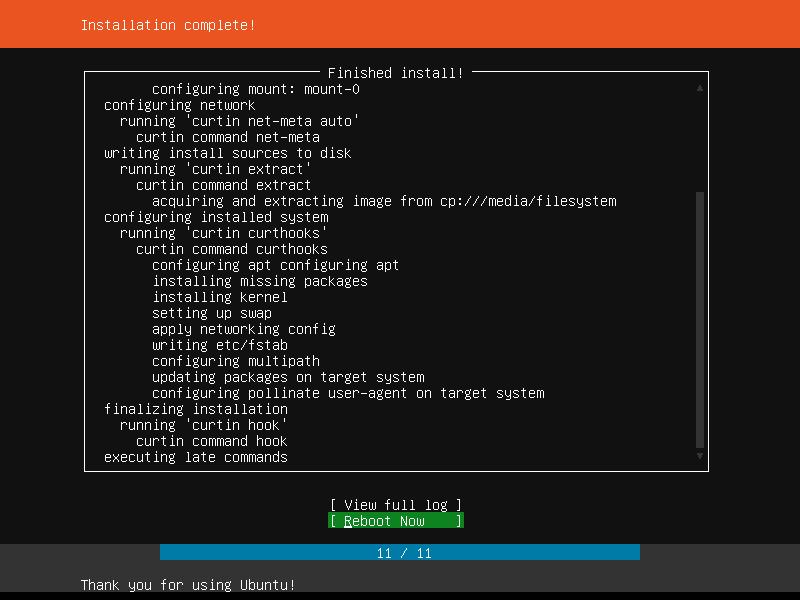
选择Reboot Now
3. 安装操作系统工具包
上传deb软件包到服务器上,使用dpkg -i XXX.deb安装软件包,如
root@gitser:~/lyjtmp# dpkg -i lrzsz_0.12.21-8build1_amd64.deb
Selecting previously unselected package lrzsz.
(Reading database ... 66574 files and directories currently installed.)
Preparing to unpack lrzsz_0.12.21-8build1_amd64.deb ...
Unpacking lrzsz (0.12.21-8build1) ...
Setting up lrzsz (0.12.21-8build1) ...
Processing triggers for man-db (2.8.3-2) ...
root@gitser:~/lyjtmp#
4. 安装gitlab
1.使用命令dpkg安装
root@gitser:~/gitpkg# dpkg -i gitlab-ce_11.1.4-ce.0_amd64.deb
Selecting previously unselected package gitlab-ce.
(Reading database ... 66595 files and directories currently installed.)
Preparing to unpack gitlab-ce_11.1.4-ce.0_amd64.deb ...
Unpacking gitlab-ce (11.1.4-ce.0) ...
Setting up gitlab-ce (11.1.4-ce.0) ...
It looks like GitLab has not been configured yet; skipping the upgrade script.

       *.                  *.
      ***                 ***
     *****               *****
    .******             *******
    ********            ********
   ,,,,,,,,,***********,,,,,,,,,
  ,,,,,,,,,,,*********,,,,,,,,,,,
  .,,,,,,,,,,,*******,,,,,,,,,,,,
      ,,,,,,,,,*****,,,,,,,,,.
         ,,,,,,,****,,,,,,
            .,,,***,,,,
                ,*,.


     _______ __  __          __
    / ____(_) /_/ /   ____ _/ /_
   / / __/ / __/ /   / __ `/ __ \
  / /_/ / / /_/ /___/ /_/ / /_/ /
  \____/_/\__/_____/\__,_/_.___/


Thank you for installing GitLab!
GitLab was unable to detect a valid hostname for your instance.
Please configure a URL for your GitLab instance by setting `external_url`
configuration in /etc/gitlab/gitlab.rb file.
Then, you can start your GitLab instance by running the following command:
  sudo gitlab-ctl reconfigure

For a comprehensive list of configuration options please see the Omnibus GitLab readme
https://gitlab.com/gitlab-org/omnibus-gitlab/blob/master/README.md

root@gitser:~/gitpkg#
2.初始配置
root@gitser:~/gitpkg# gitlab-ctl reconfigure
执行结束时有类似如下结果
Running handlers:
Running handlers complete
Chef Client finished, 430/611 resources updated in 03 minutes 25 seconds
gitlab Reconfigured!
3.检查GitLab运行状态
root@gitser:~/gitpkg# gitlab-ctl status
run: alertmanager: (pid 13611) 125s; run: log: (pid 13643) 124s
run: gitaly: (pid 13540) 127s; run: log: (pid 13552) 127s
run: gitlab-monitor: (pid 13559) 127s; run: log: (pid 13562) 126s
run: gitlab-workhorse: (pid 13521) 128s; run: log: (pid 13531) 127s
run: logrotate: (pid 13048) 200s; run: log: (pid 13580) 126s
run: nginx: (pid 13026) 206s; run: log: (pid 13532) 127s
run: node-exporter: (pid 13205) 188s; run: log: (pid 13551) 127s
run: postgres-exporter: (pid 13632) 125s; run: log: (pid 13640) 125s
run: postgresql: (pid 12740) 297s; run: log: (pid 13512) 128s
run: prometheus: (pid 13587) 126s; run: log: (pid 13641) 124s
run: redis: (pid 12658) 308s; run: log: (pid 13511) 128s
run: redis-exporter: (pid 13249) 176s; run: log: (pid 13563) 126s
run: sidekiq: (pid 12991) 214s; run: log: (pid 13513) 128s
run: unicorn: (pid 12954) 220s; run: log: (pid 13517) 128s
root@gitser:~/gitpkg#
4.修改创建项目后git地址gitlab.example.com为ip地址
root@gitser:~/gitpkg# vi /opt/gitlab/embedded/service/gitlab-rails/config/gitlab.yml
host: localhost中将localhost改为主机的IP即可
5.更改访问ip(出现502错误时或主动更改ip)
root@gitser:~# vi /etc/gitlab/gitlab.rb
把文件中的 external_url ‘http://gitlab.example.com’ 改为: externa_url ‘http://192.168.3.184:9988’
root@gitser:~# vi /var/opt/gitlab/gitlab-rails/etc/unicorn.rb
把文件中的 listen “127.0.0.1:8080” 改为: listen “192.168.3.184:9988”
其中192.168.3.184为服务器访问IP
6.使用上面修改生效
root@gitser:~# gitlab-ctl reconfigure
执行结束时有类似如下结果
Running handlers:
Running handlers complete
Chef Client finished, 12/557 resources updated in 43 seconds
gitlab Reconfigured!
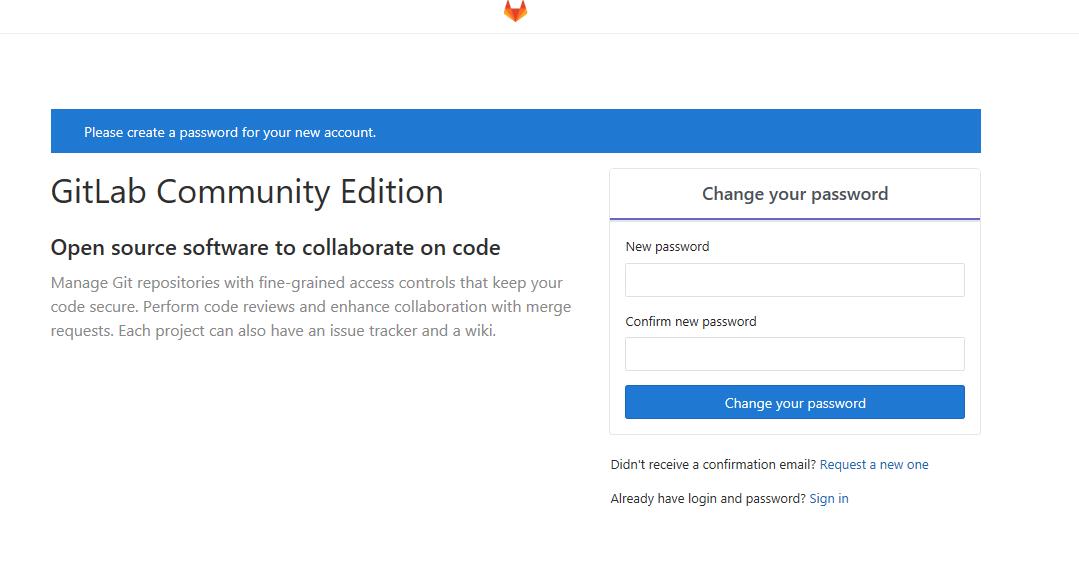
7.首次访问GitLab,默认用户为root,强制修改密码
重置root密码
使用root用户登录

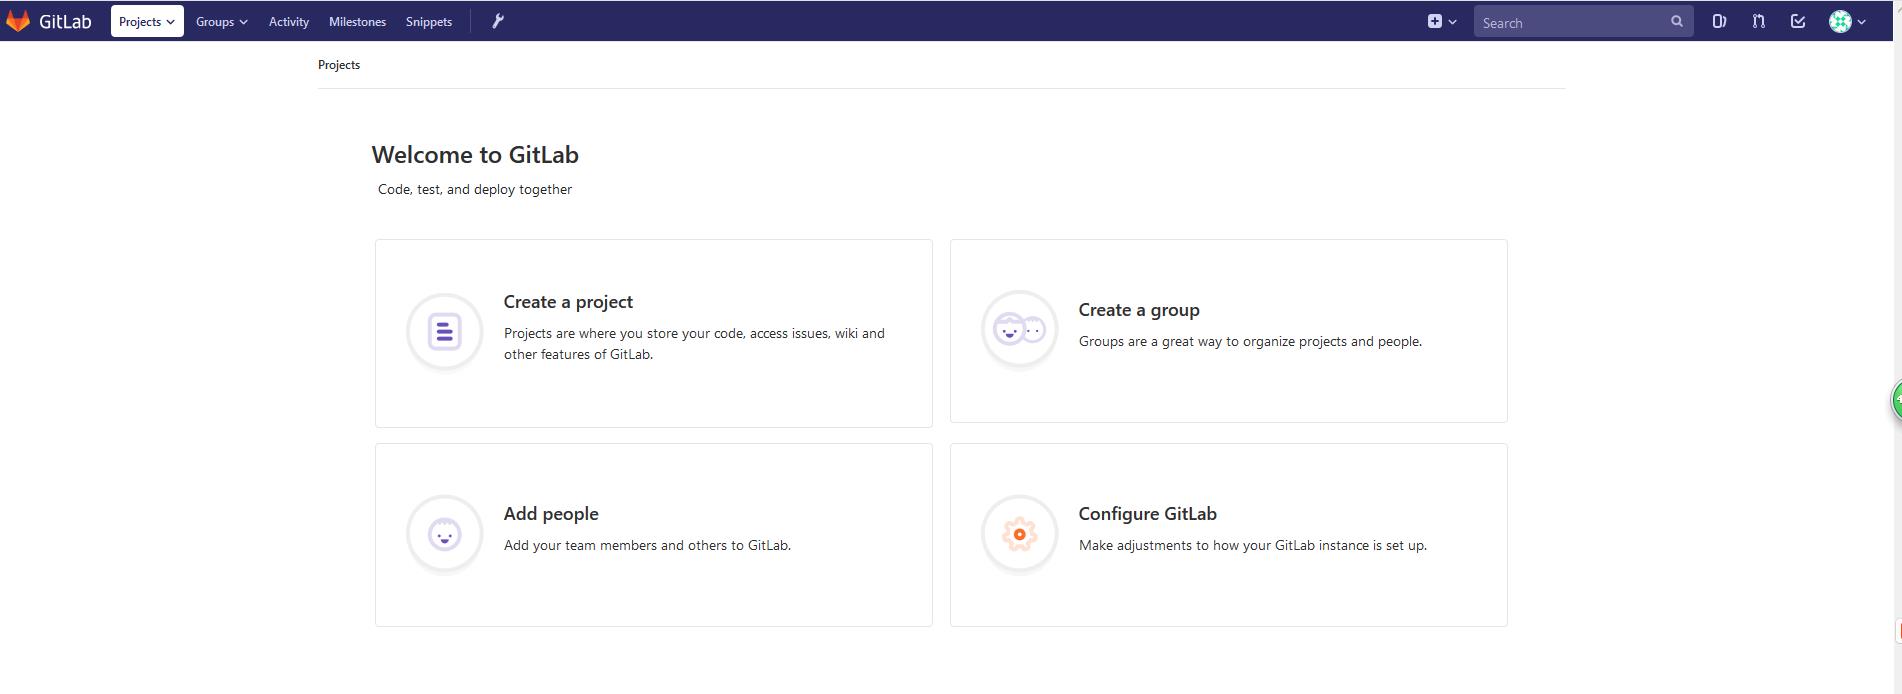
尽情使用GitLab吧
附加:
gtilab部分命令
sudo gitlab-ctl stop停止
sudo gitlab-ctl start开启
sudo gitlab-ctl restart重启
sudo gitlab-ctl status查看状态
sudo gitlab-ctl reconfigure确认配置(修改配置后,必须执行)
sudo gitlab-ctl tail 查看日志
卸载gitlab
执行如下四步:
sudo gitlab-ctl uninstall
sudo dpkg -r gitlab-ce
sudo rpm -e gitlab-ce
reboot(重启)